
Split
Tactical Overview
Split is a competitive map in Valorant that offers unique strategic opportunities and tactical challenges. Master the layout, understand key positions, and dominate your matches with comprehensive map knowledge.
Tactical Layout
Study the map layout to understand sight lines, rotation paths, and strategic positions. Use this overhead view to plan your team's approach and identify key areas for map control.
Map Information
Pro Tip
Practice your crosshair placement and pre-aim common angles on Splitin deathmatch before jumping into competitive matches. Learn the callouts to communicate effectively with your team.
Map Callouts (24)
A
Back
Lobby
Main
Rafters
Ramps
Screens
Sewer
Site
Tower
Attacker Side
Spawn
B
Alley
Back
Link
Garage
Rafters
Site
Stairs
Tower
Lobby
Defender Side
Spawn
Mid
Bottom
Top
Vent
Best Team Composition for Split

Raze
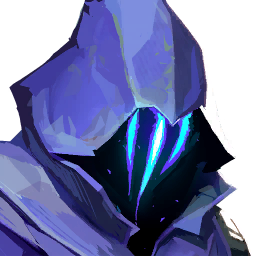
Omen

Skye
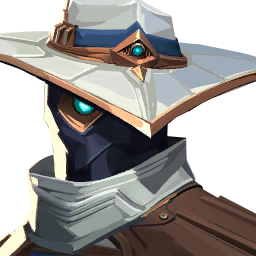
Cypher

Sage
Composition Strategy
This team composition is optimized for Split's unique layout and strategic requirements. The combination of roles provides excellent map control, site execution, and defensive capabilities. Practice coordinated strategies with your team to maximize effectiveness on this map.